pfSense
Table of Contents
Create a new virtual machine for pfsense
pfSense installer
pfSense is installed into the Proxmox server. After the download of the iso, boot the virtual machine on it. The first installation screen is the boot screen boot screen (Fig. 18).
Then, on Boot screen (Fig. 18), select either the Boot Multi User or the Boot Single User.
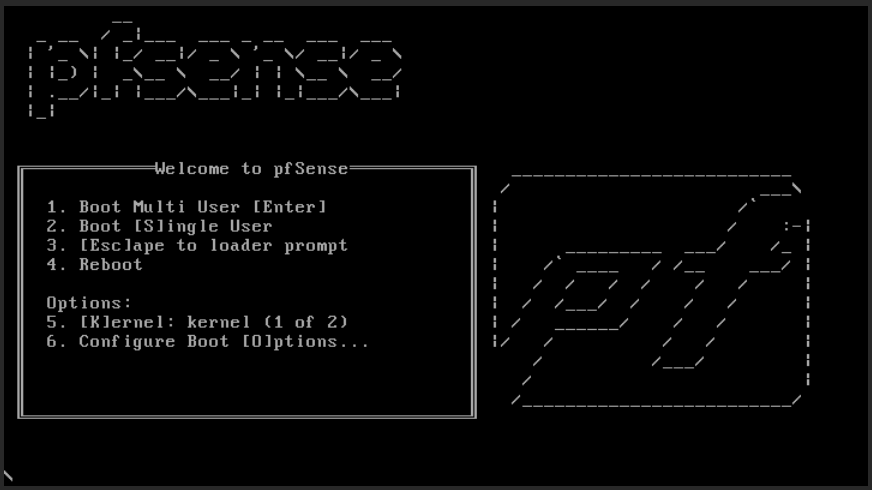
Fig. 18 Boot screen
Select Accept for the Copyright (Fig. 19) …
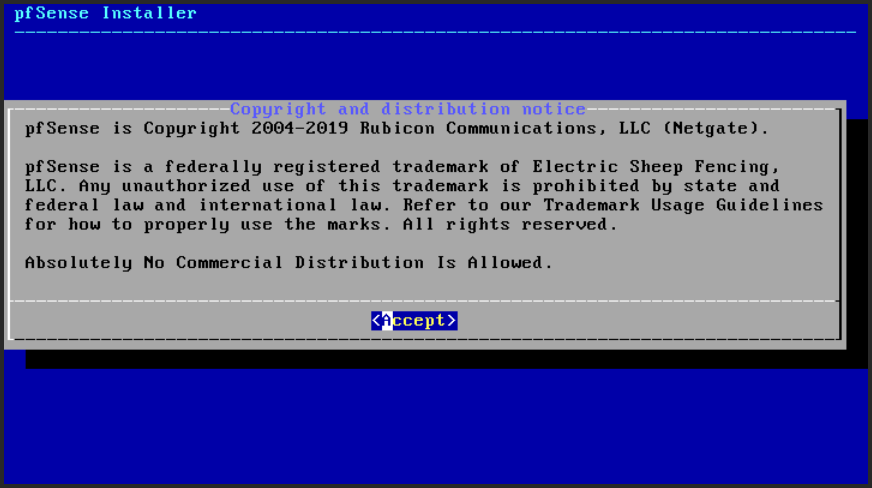
Fig. 19 Copyright
… select the software Install (Fig. 20).
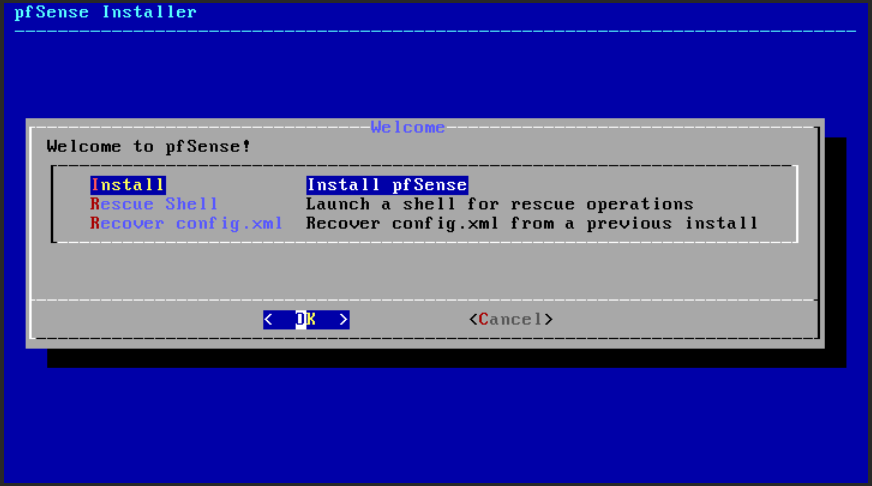
Fig. 20 Install
Select the keyboard you are using Keymap Selection (Keymap (Fig. 21)).
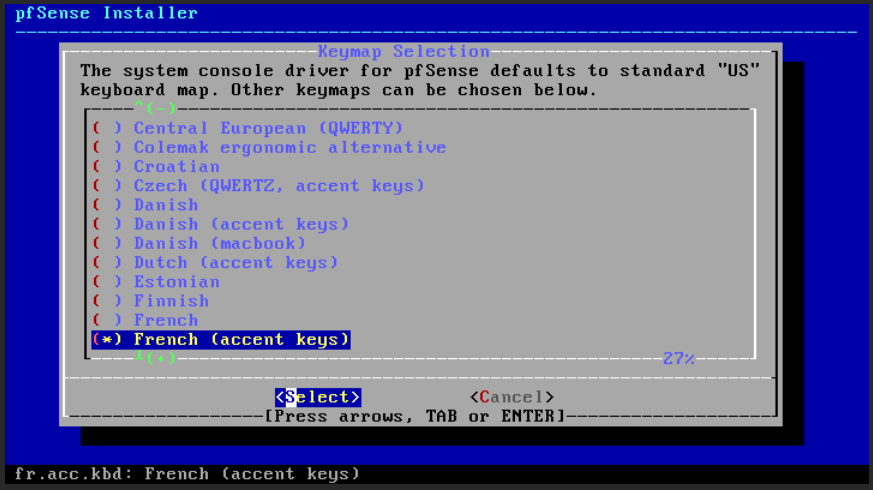
Fig. 21 Keymap Selection
Choose the Auto (UFS) option to Partition (Fig. 22) the disk.
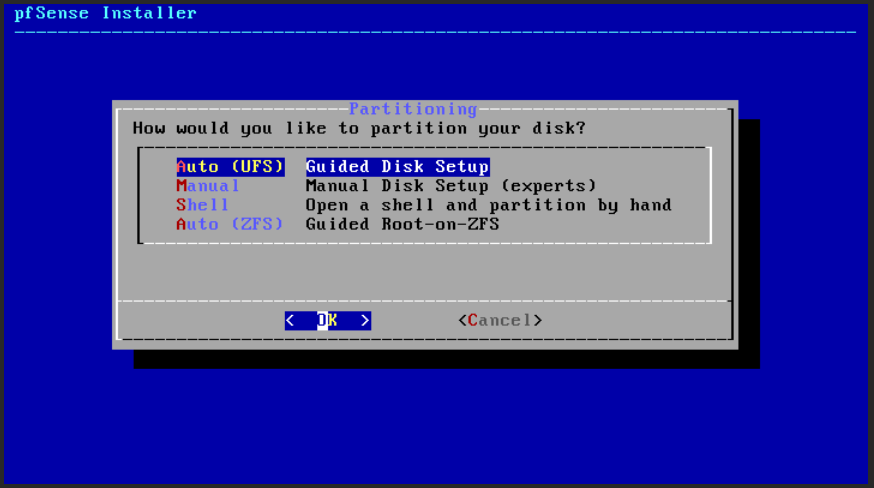
Fig. 22 Partitioning
Take a very short coffe during the Extraction (Fig. 23) process.
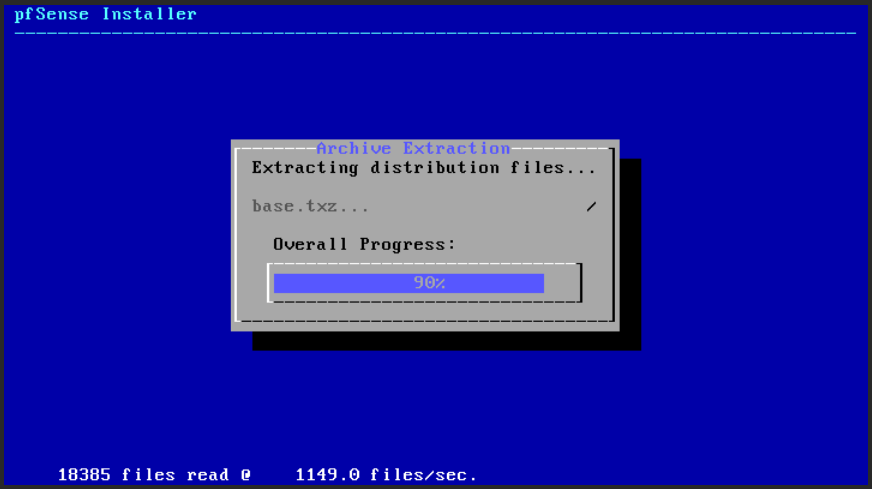
Fig. 23 Extracting
The configuration will be made later. Don’t yet Configure (Fig. 24) the pfSense …
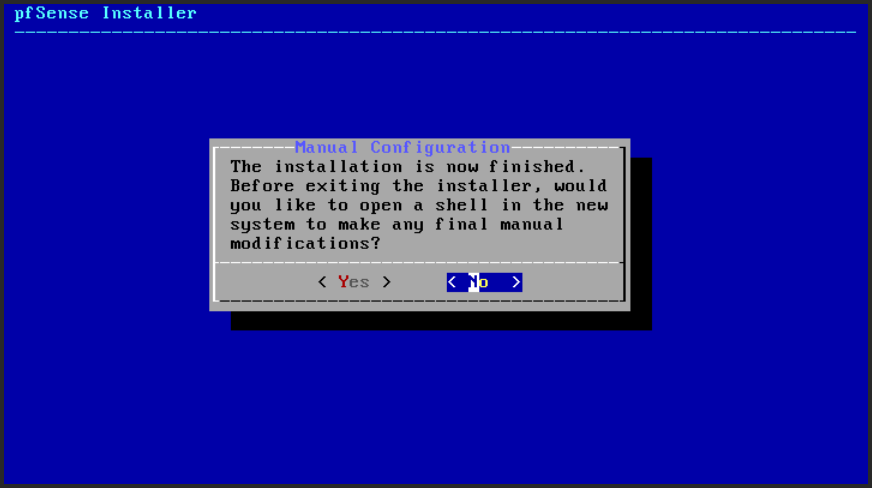
Fig. 24 Configuration
… but just Reboot (Fig. 25) the virtual machine to complete the installation.
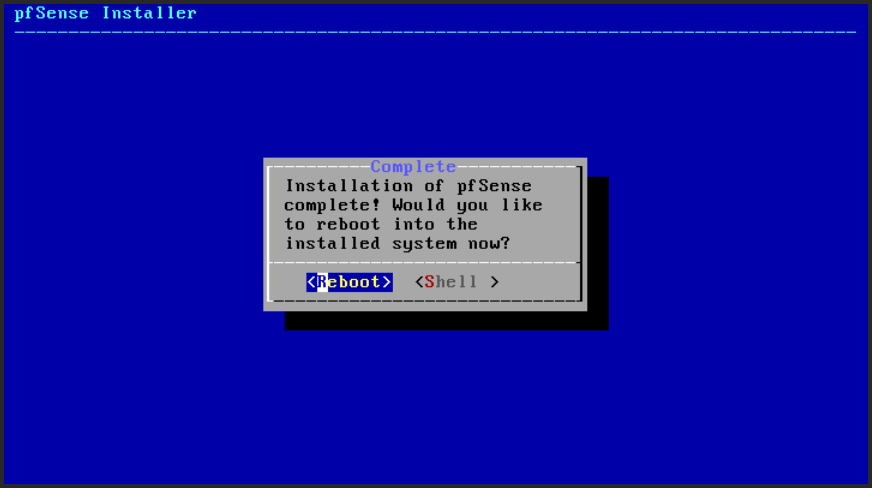
Fig. 25 Reboot
The virtual machine reboots once again and configures the minimal setup (Reboot again (Fig. 26)).
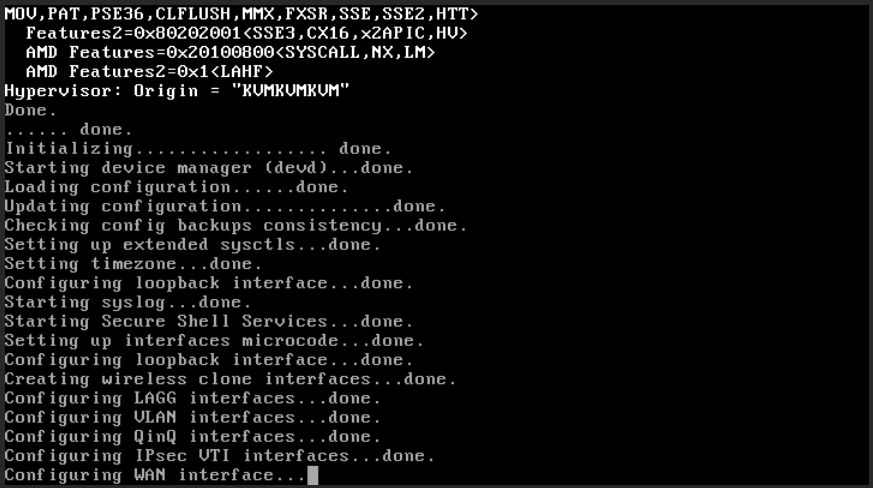
Fig. 26 Reboot once again
pfSense configuration
After the reboot, the Configuration menu (Fig. 27) of the pfSense virtual machine allows to configure the router. We will Assign Interfaces and then Set interface(s) IP address.
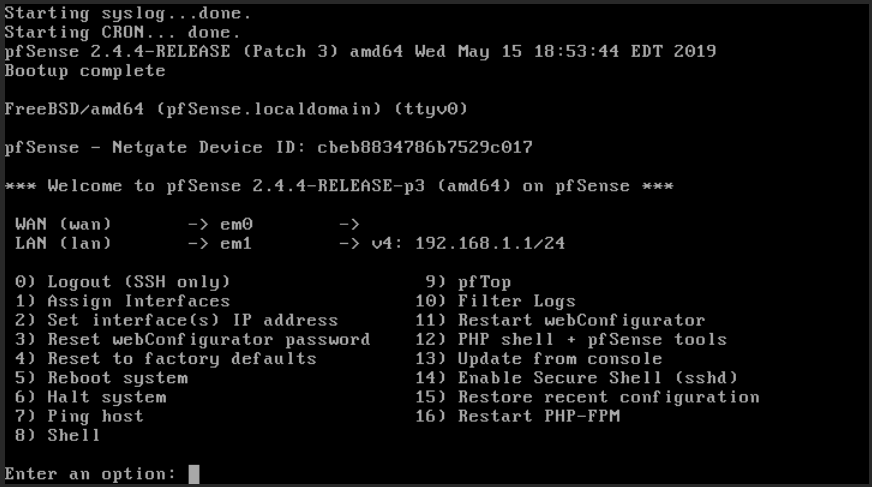
Fig. 27 Configuration menu
The Assign Interfaces option consists to set a network interface to the WAN and another network interface to the LAN. Each of both interfacs will communicate in its own network. em0 is the network interface to be connected (Fig. 28) to the WAN and the em1 interface is connected to the LAN.
Todo
add better explaination for auto detection
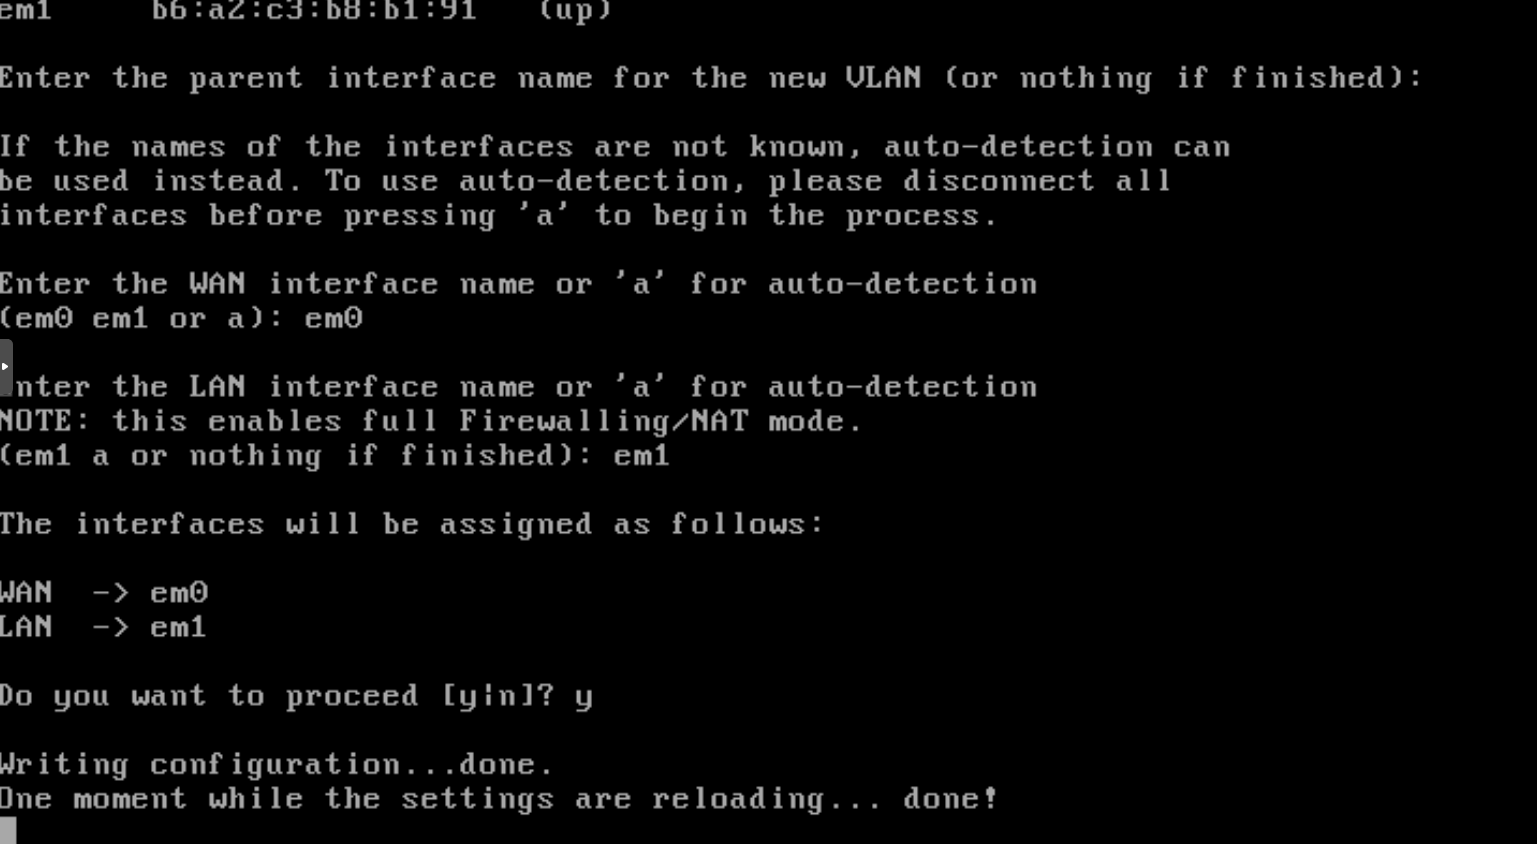
Fig. 28 Interfaces to be connected
Both interfaces are now connected (Fig. 29). The next step is the setting of both IPs.
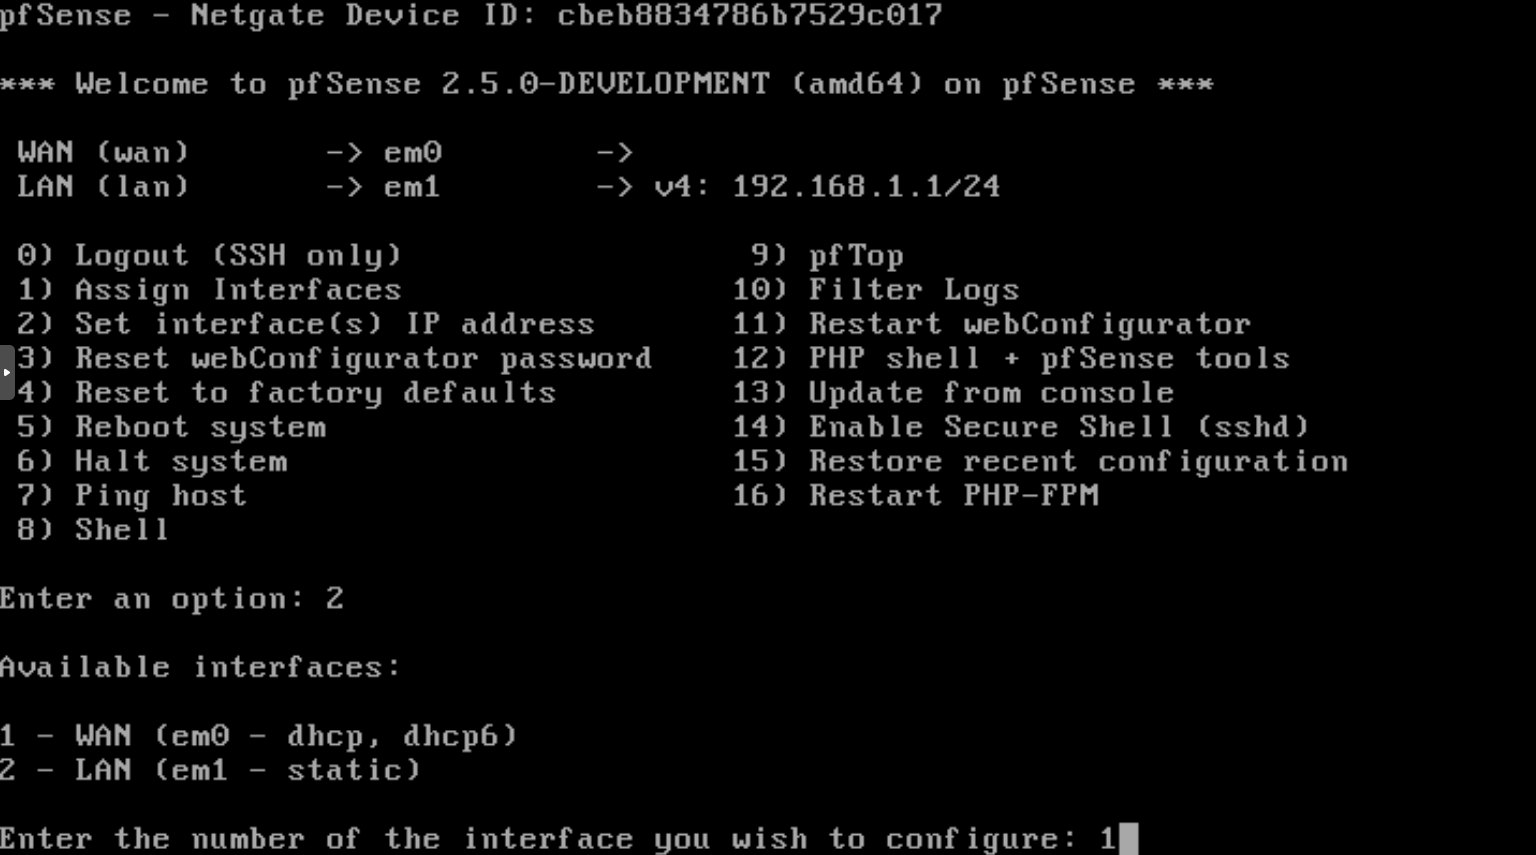
Fig. 29 Interfaces connected
This is achievable by selecting the menu 2 and then the interface to be set. The WAN interface will be configured with a static IP address 10.255.254.2. This IP must be in the same network than the gateway 10.255.254.1 it will rely (see Fig. 30). The subnet should be set to 30 to avoid other devices to be connected to this network.
Note
a subnet 32 is not a “valid” subnet.
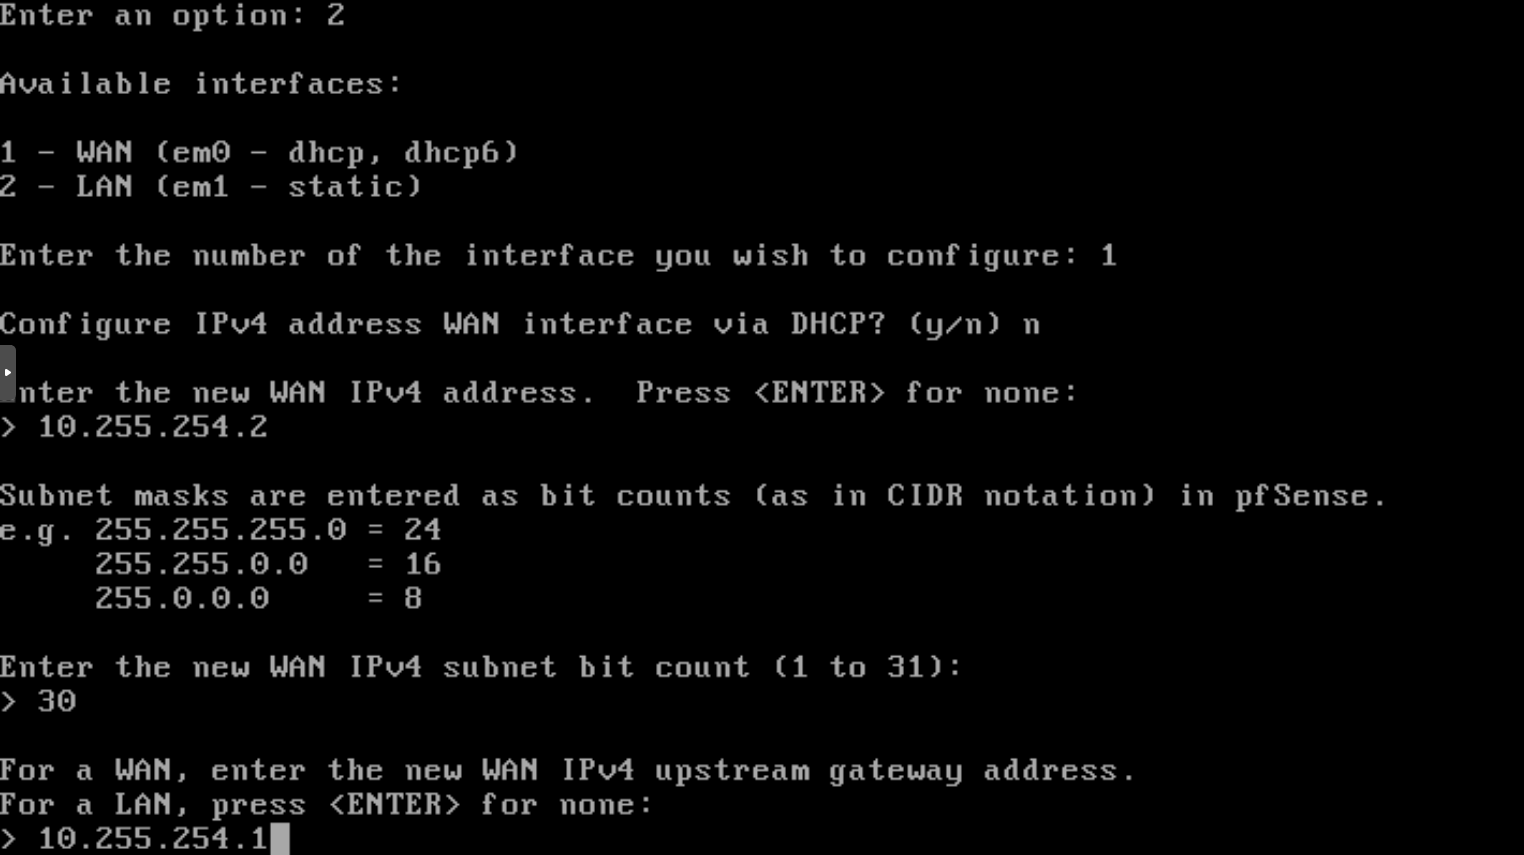
Fig. 30 WAN configuration
Don’t configure the IPv6, nor via DHCPv6, and set no to revert to HTTP webConfigurator protocol (see Fig. 31).
Todo
add better explaination
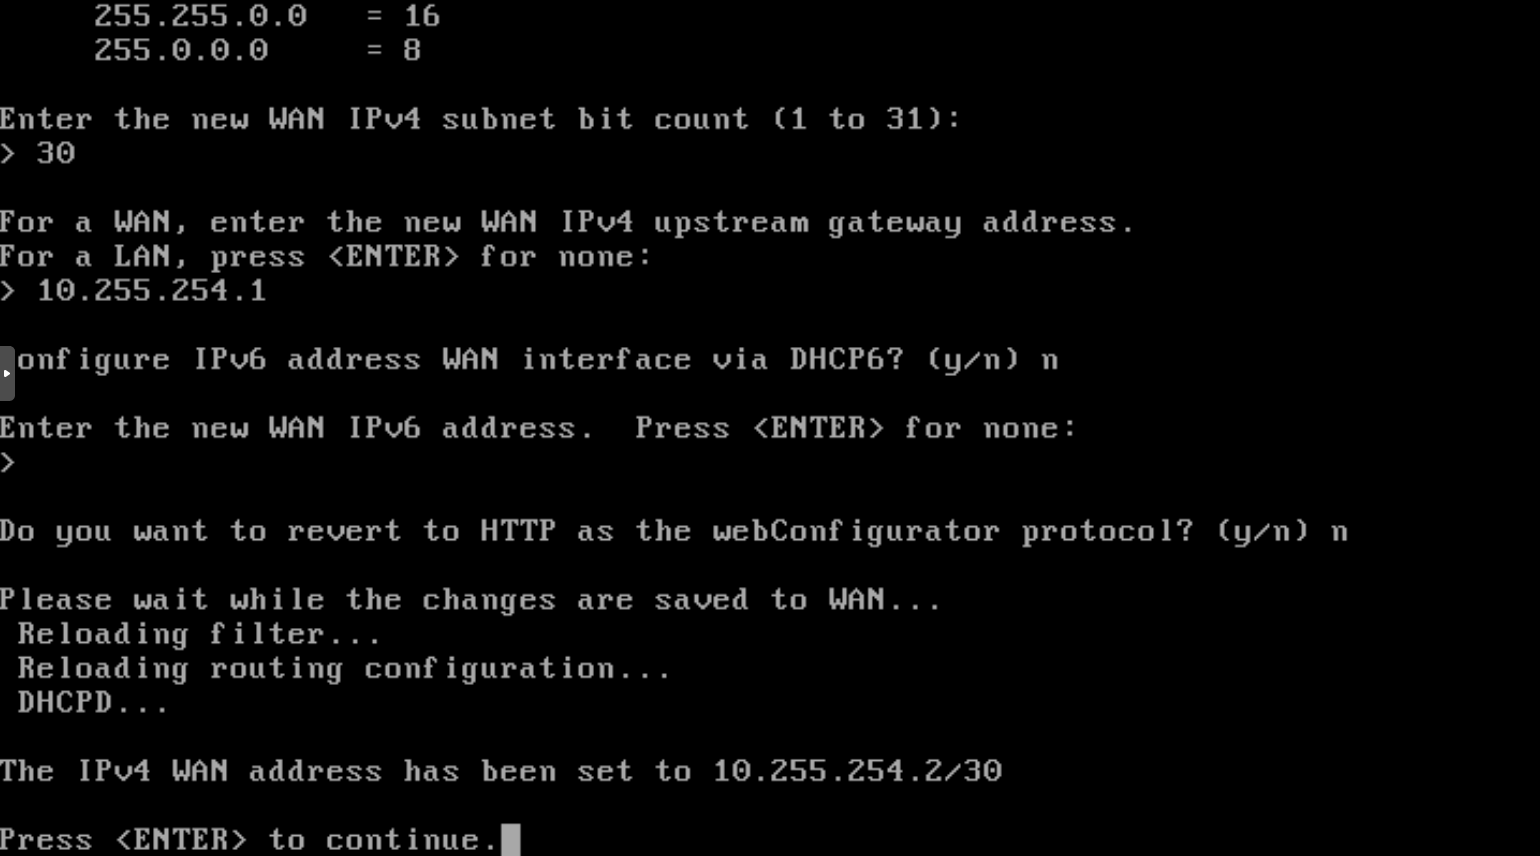
Fig. 31 WAN configuration done
Follow the same steps for the LAN interface. Only difference is on the subnet to be set to 24 or to be adapted for the network size.
Note
a subnet 24 allows to connect 254 devices.
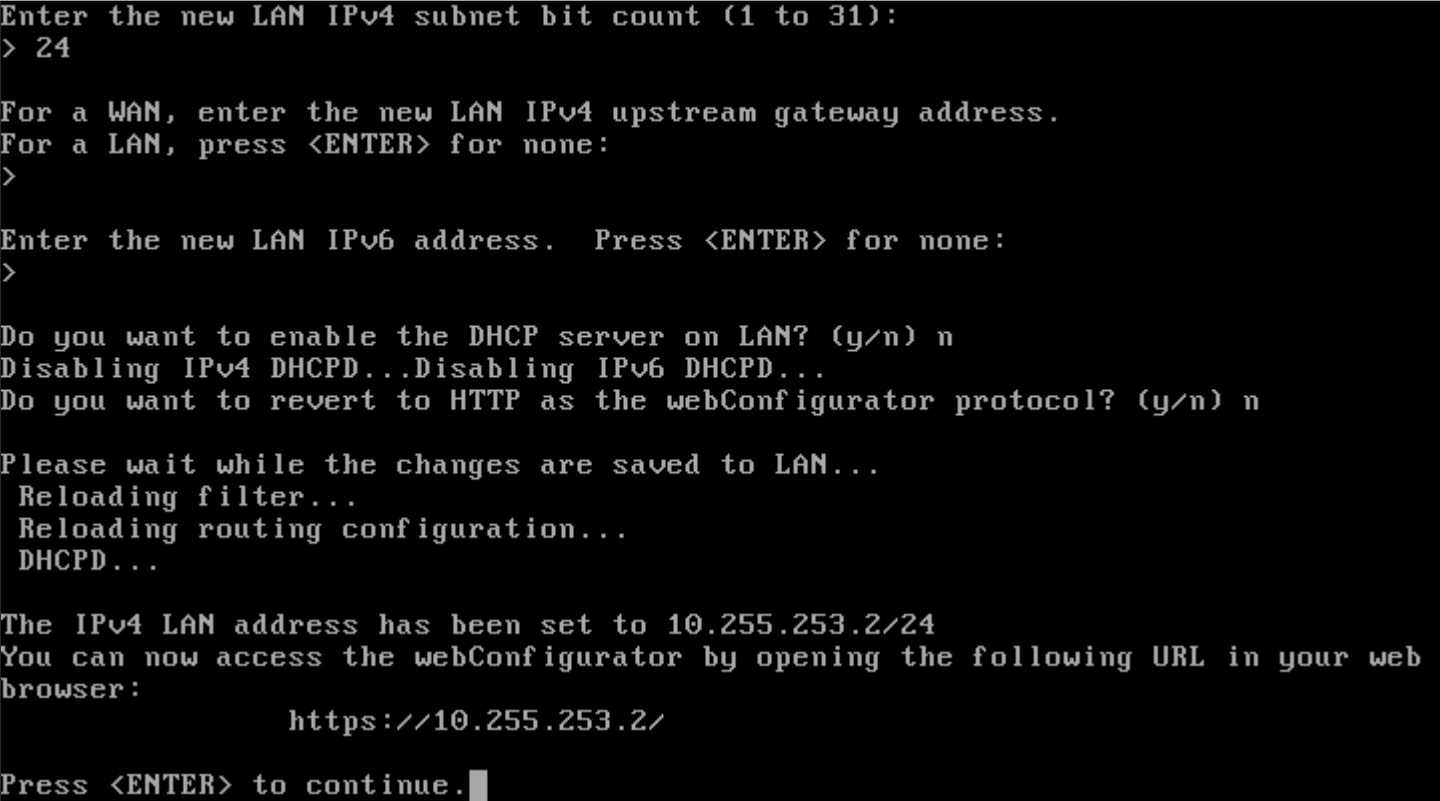
Fig. 32 LAN configuration done
To check if the local network is working, a ping to a local machine connected to the LAN (ie 10.255.253.106) could be made (option 7 on Fig. 31).
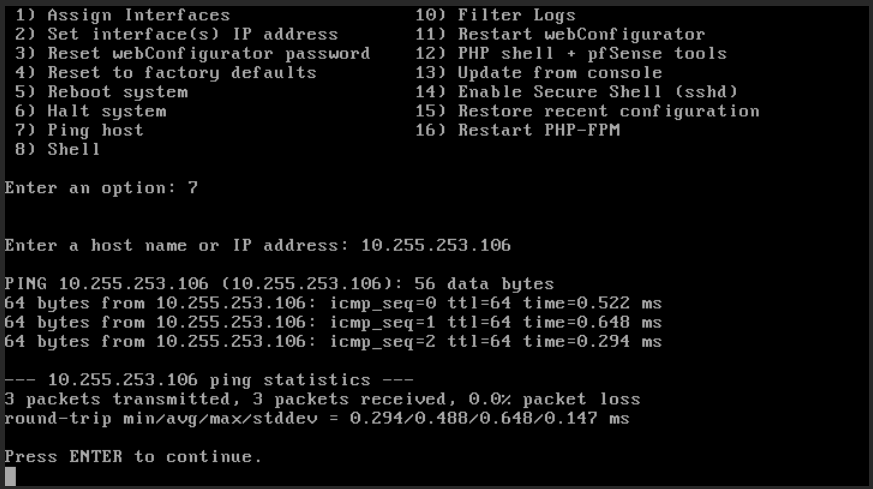
Fig. 33 Local network reachable
Note
After the network configuration of pfSense, it is possible to ping the hyperviseur Proxmox VE from pfsense but the revert is not possible. Indead Proxmox VE is view as the outside and pfsense is inside a network. (It is the same than if you ping an external Web site i.e. www.framasoft.org, but from www.framasoft.com server you can not reach your machine)_
Pfsense: first connexion
It’s now that you can use the virtual machine as explain in the section prerequisite !
Launch this VM and open a Web browser to connect at http://10.255.253.2. This IP point to pfsense Default login is admin and default password is pfSense. Change the last at the first connexion.
Follow the wizard for the basic configuration.
Web GUI configuration
In System -> Advanced -> Admin Access, change the TCP port used by the webConfigurator. By default it is set to 80. But this port will be used by Web servers too that are hosted on the LAN. Thus, in order to access to Web server by using port 80, pfsense server should use another port (ie 81). Next connexion will be at the following address http://10.255.253.2:81
But in the fact, for Web servers, it is advised to use a secure connexion (https) on port 443. pfsense will be configured to managed https connexion in next section
Uncheck Anti-lockout box in order to allow a permanent access to the webConfigurator from the LAN side. This add automatically a rule at the firerwall.
In System -> Advanced -> Networking, uncheck IPv6 traffic if it is not used.
Check the Hardware Checksum Offloading in order to disable hardware checksum offload. Otherwise it could have some issue with a card of type VirtIO.
In System -> Advanced -> System Tunables, add the following Tunable
net.inet.ip.portrange.reservedhigh = 0
In System -> General Setup, add DNS Servers. For example:
1.1.1.1 quad9
9.9.9.9 ns1.fdn.fr
In System -> Package Manager, two packages will be installed: ACME and Squid. ACME is used to manage SSL certificats. Certificats are used to access to Web server with https protocole. Squid is a reverse proxy. A reverse proxy is a service that allow to access from the WAN toward different Web servers hosted in a local network. It is in charge to redirect the external request to the proper server.
Interfaces configuration
Uncheck the Block RFC1918 Private Networks for the WAN interface. Block RFC1918 Private Networks block the traffic from local network wich has IP address like 10/8, 192.168/16. But the WAN interface of pfsense is inside a local network. Its address is 10.255.254.2. Thus, all local traffic should be able to pass through the WAN interface of pfsense.
Firewall configuration
These is the section where the rules will be added. For debug purpose, the command “ping” will be allowed. On the WAN side, these rules are:
Action: pass
Interface: WAN
Protocole: ICMP
ICMP Subtypes: any
Source: Any
Destination: Any

Action: pass
Interface: WAN
Protocole: UDP (or both)
Source: Any
Destination Port Range: DNS (53)
Destination: This firewall (self)

Action: pass
Interface: WAN
Protocole: TCP
Source: Any
Destination Port Range: From 81 To 81
Destination: This firewall (self)

Action: pass
Interface: WAN
Protocole: TCP
Source: Any
Destination Port Range: From 443 (HTTPS) To 443 (HTTPS)
Destination: Any

Action: pass
Interface: WAN
Protocole: TCP
Source: Any
Destination Port Range: From 80 (HTTP) To 80 (HTTP)
Destination: WAN address
On the LAN side, these rules are:
Action: pass
Interface: LAN
Protocole: ICMP
ICMP Subtypes: any
Source: Any
Destination: Any

Action: pass
Interface: LAN
Protocole: UDP (or both)
Source: Any
Destination Port Range: DNS (53)
Destination: Any

Action: pass
Interface: LAN
Protocole: TCP
Source: Any
Destination Port Range: From 443 (HTTPS) To 443 (HTTPS)
Destination: This firewall (self)

Action: pass
Interface: LAN
Protocole: TCP
Source: Any
Destination Port Range: From 80 (HTTP) To 80 (HTTP)
Destination: LAN address

Action: pass
Interface: LAN
Protocole: TCP
Source: Any
Destination Port Range: From 443 (HTTPS) to 443 (HTTPS)
Destination: Any
Services configuration
DNS Forwarder and DNS Resolver shoud be disabled.
Squid Proxy Server should be enabled otherwise Squid Reverse proxy doesn’t work. Select LAN for the Proxy Interface(s). Finally, go to Local Cache and save the configuration of the cache.
Squid reverse proxy is used to access to Web service inside the LAN. Select the WAN interface, set the External FQDN to gibus.ml. Check the case to Enable HTTP Reverse Proxy and set Reverse HTTP Port to 80.
Let’s Encrypt certificate
pfSense configuration
Before to create a certificate on pfSense, both ports 80 and 443 must be redirected to the pfSense firewall (Fig. 34) (menu ).
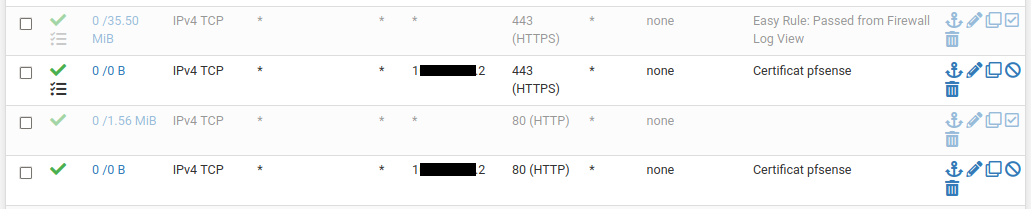
Fig. 34 Port redirection
Note
pfSense IP address is hidden behind black box, WAN side.
Let’s Encrypt account
An account should be created on Let’s Encrypt in the Account Keys (Fig. 35) (menu ). For test only and/or debug, the Let’s Encrypt Staging ACME v2 could be used. Once everything is set up, the Let’s Encrypt Production ACME v2 could be choose for production life cycle.
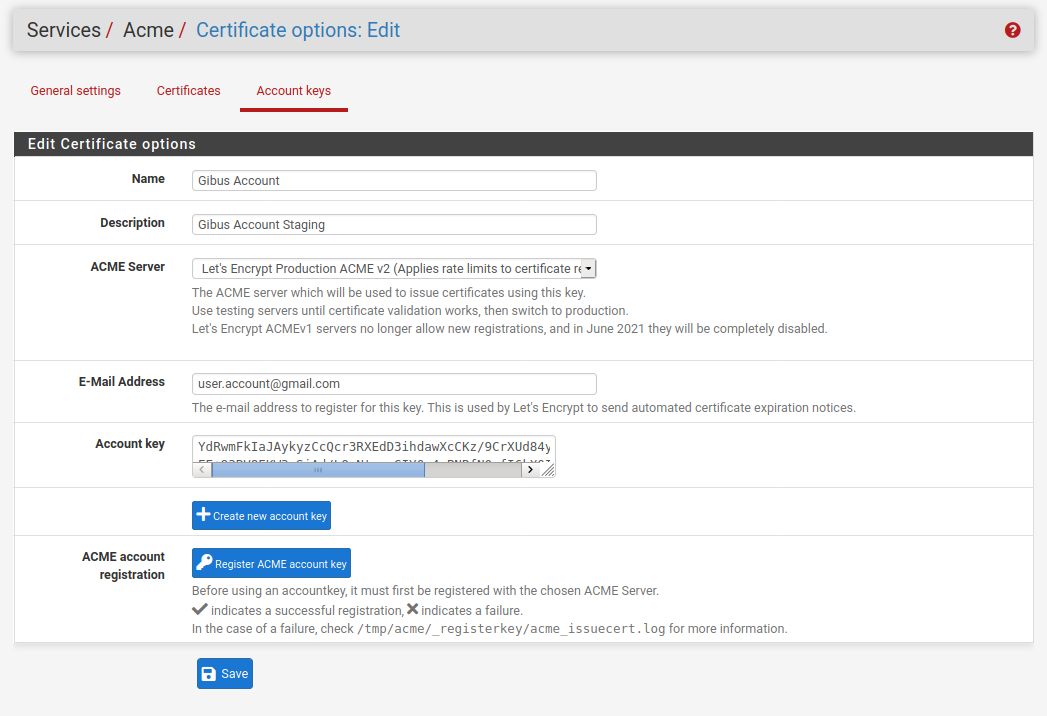
Fig. 35 Account Keys
Certificate generation
Next, create a certificate for the dedicated Website (). Select a name for the certificate, choose the Acme Account previously created and the bigger key. The Domain SAN list will be configured with the DNS-Manuel method. Two domain names must be added: one for the name and the second with the wildcard.
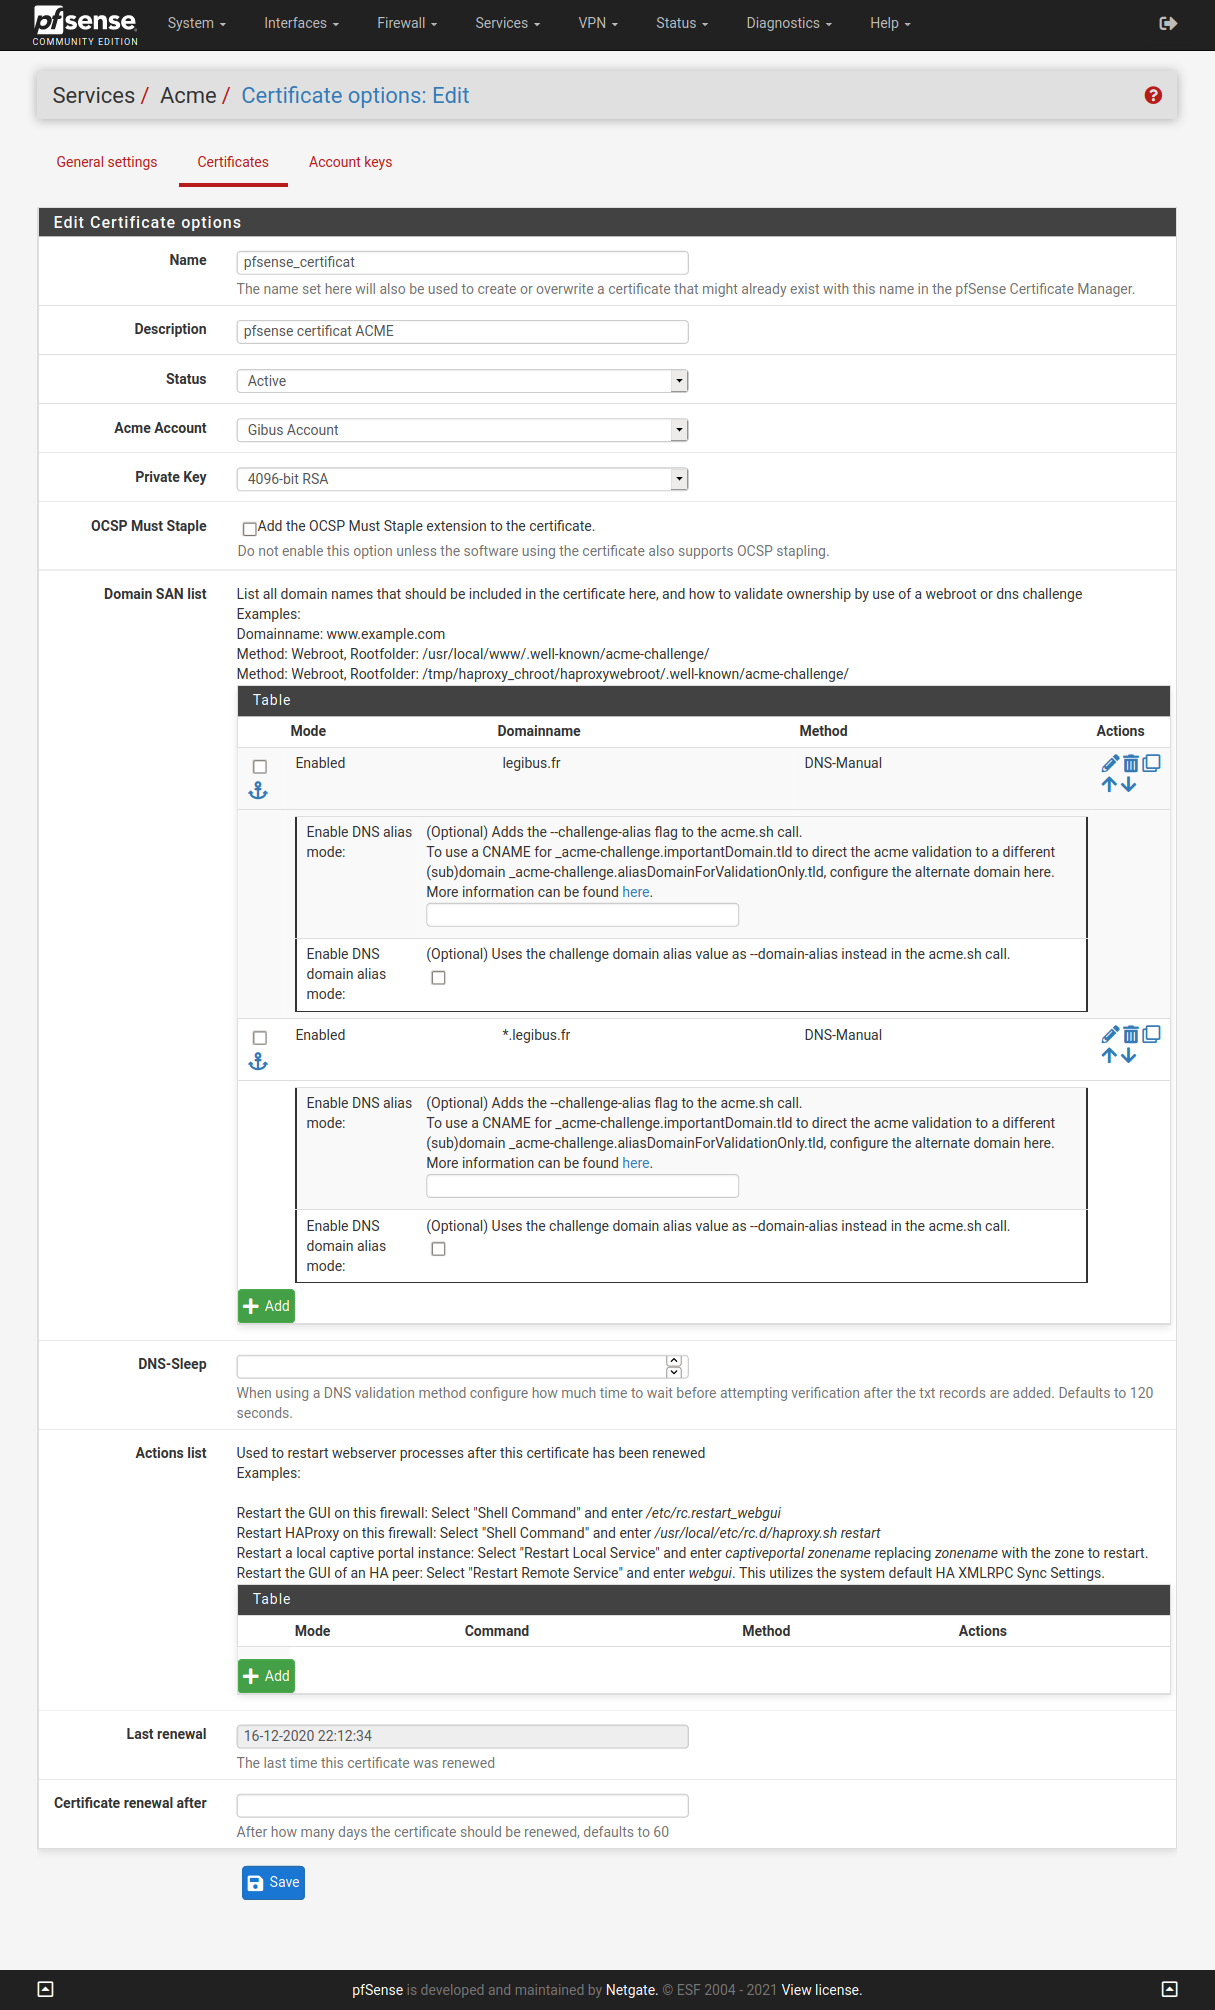
Fig. 36 Certificates
Certificate is not yet created. Clic on Issue to generate keys (Fig. 37).
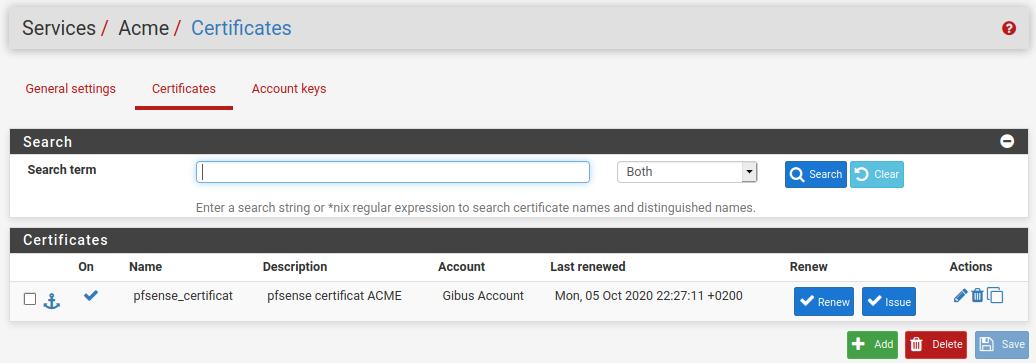
Fig. 37 Issue
This action generate some kind of keys (hidden behind black box 38) in TXT format, one for each sub-domain.
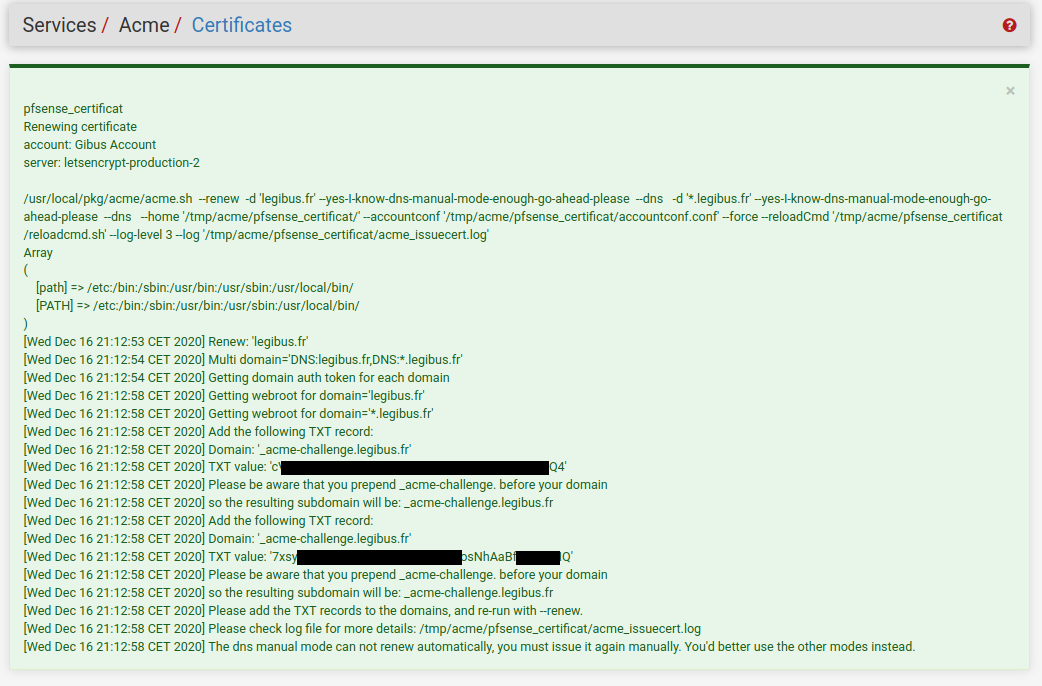
Fig. 38 Certificates Issue
TXT Record
Both keys must be added in a TXT Record type into your domain name provider (Fig. 39).

Fig. 39 TXT record
Then clic on Renew (but not Issue !!!). If everything is OK, this will finally generate the certificate (Generated certificate (Fig. 40)) …
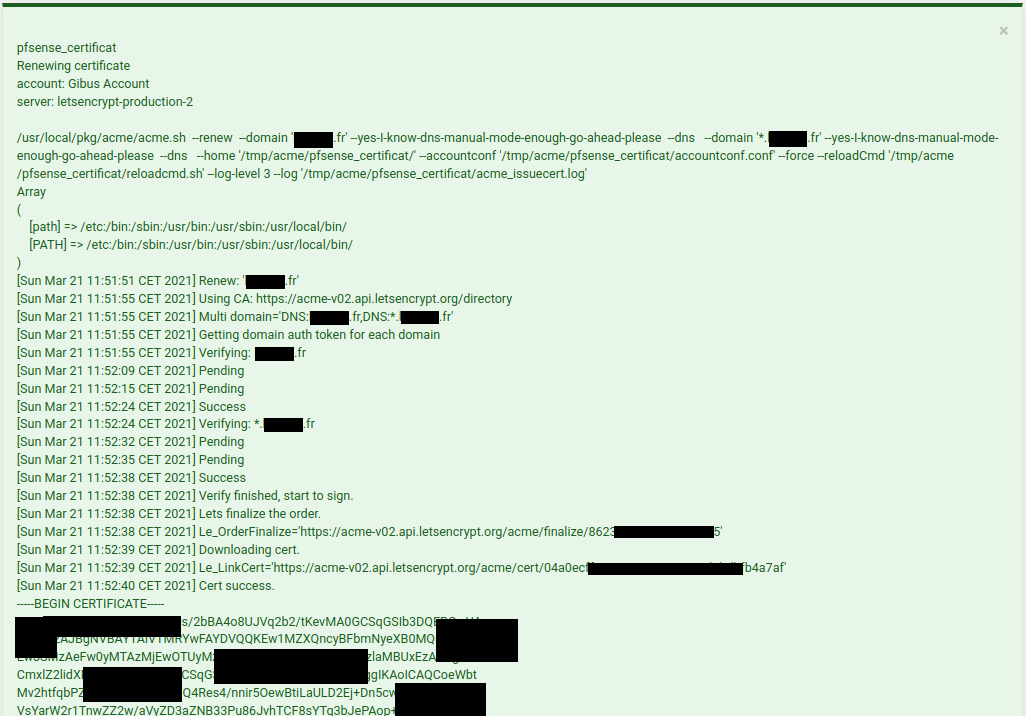
Fig. 40 Generated certificate
… which is automatically download in the local folder (/tmp/acme/pfsense_certificat/domain_name.fr/ (Fig. 41))

Fig. 41 Local folder
Certificate use
Now, it’s time to import the certificate into the pfSense server (menu ). This certificate will be used in front of the Web server where are in rear of the Squid Reverse Proxy. Clic Add and choose Import an existing Certificate. Set a name and copy/paste the key that has been previously download in /tmp/acme/pfsense_certificat//domaine_name.fr/.
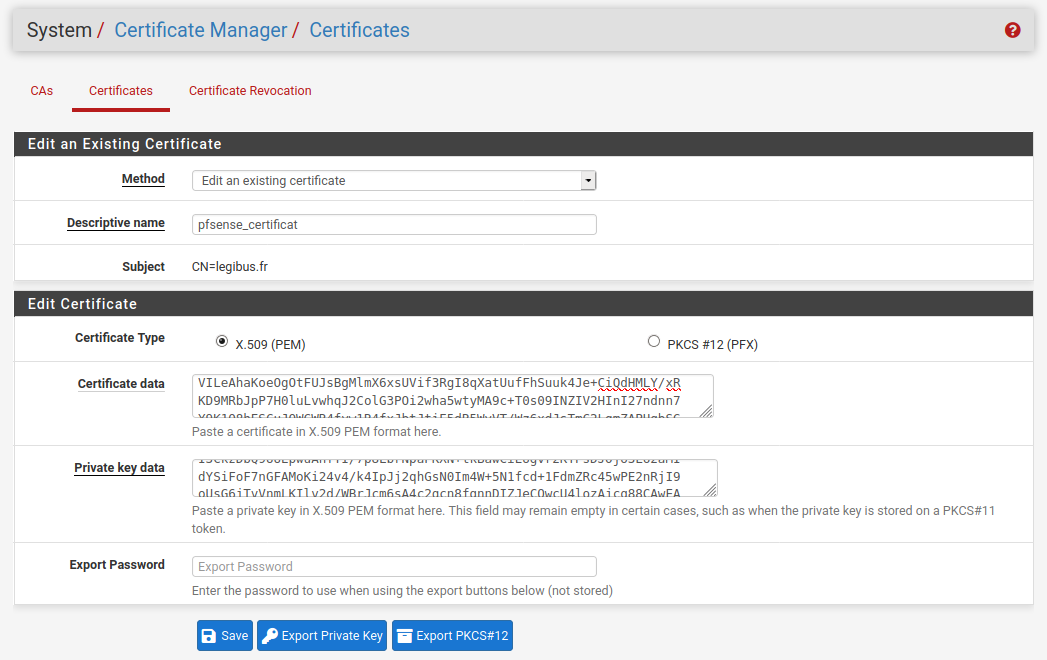
Fig. 42 Import certificate
The public key is in the file with domaine_name.cer extension. The private key is in the file with domaine_name.key extension.
In the menu , set the External FQDN to the domain name and set the Reverse SSL Certificate with the name of the created certificate. Import the intermediate certificat (file /tmp/acme/pfsense_certificat//domaine_name.fr/ca.cer).
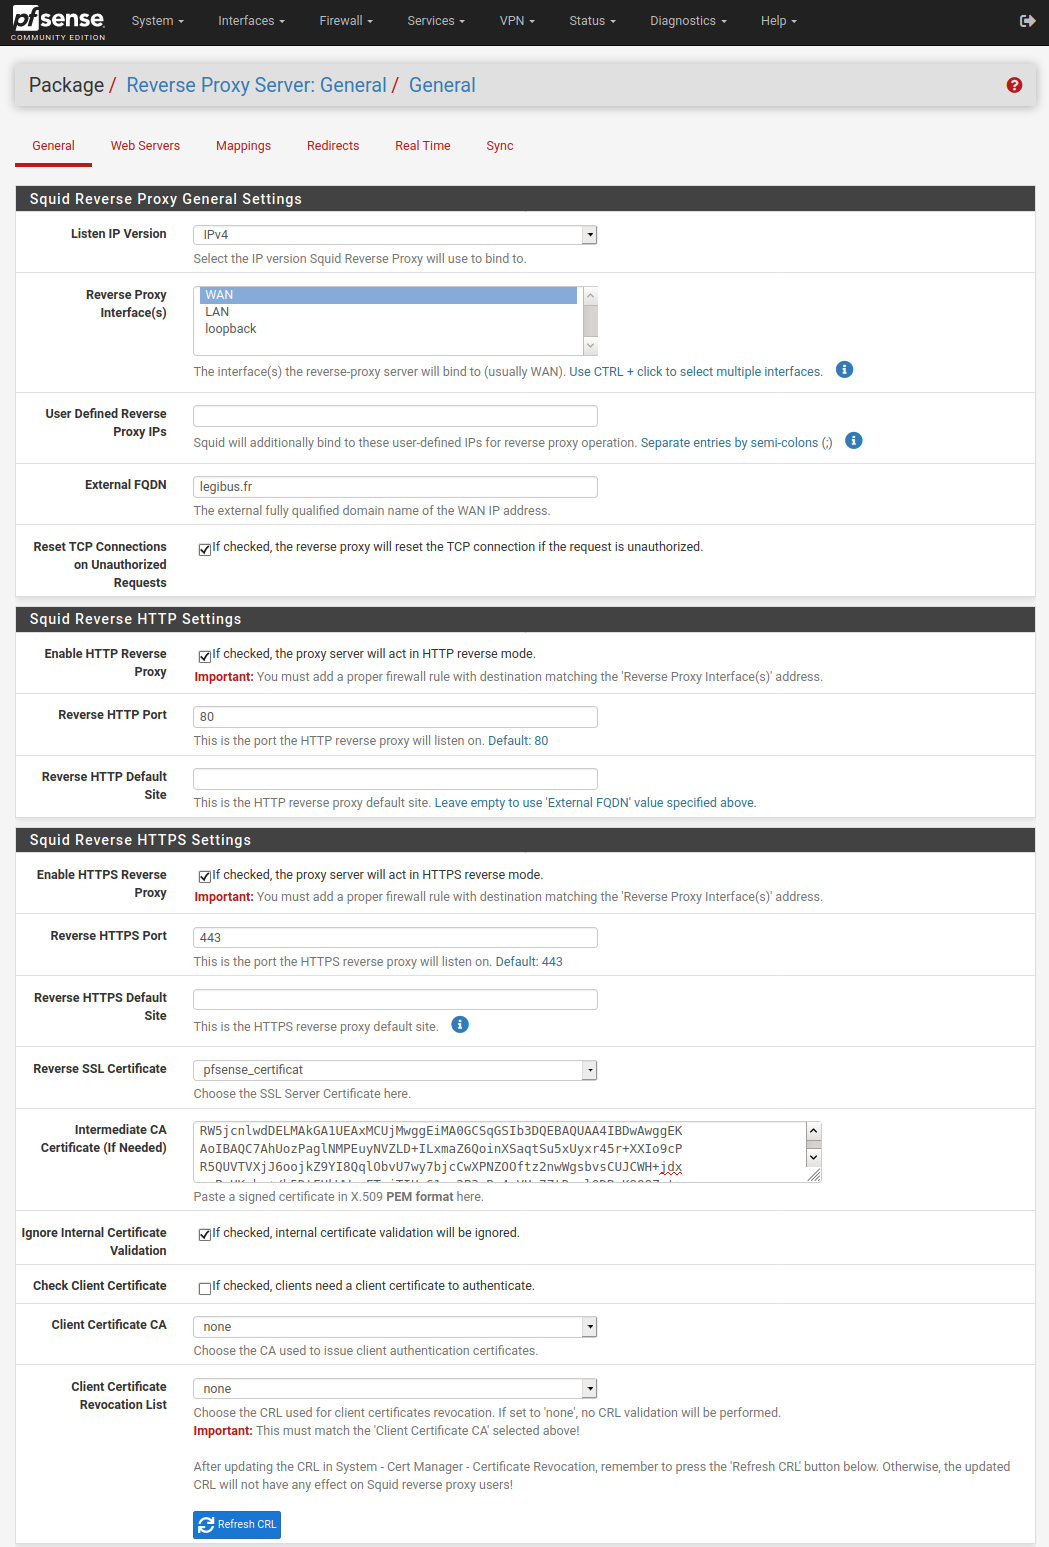
Warning
Even if it is a renewal, don’t forget to Refresh CRL in the Squid Reverse HTTPS Settings.
Finally, don’t forget to revert the port direction (80 and 443) towards the network instead of the pfSense server itself.
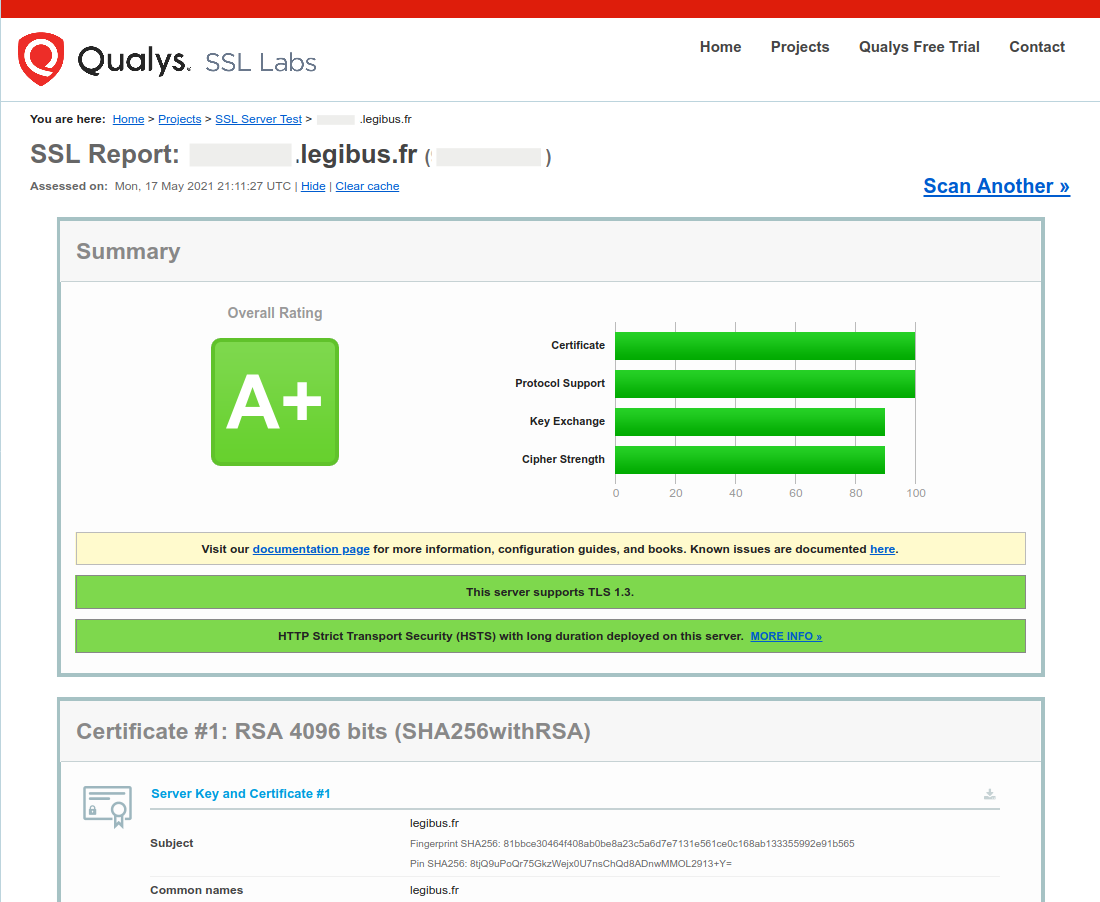
Final check
Finally, the ssl configuration can be checked with https://www.ssllabs.com. Be careful to support the TLS1.3 which is the more up-to-date certificat version.
Bibliography
Creating Wildcard Certificates on pfSense with Let’s Encrypt
pfSense 2.3 : Obtenir des certificats Let’s Encrypt avec ACME
[pfSense] La gestion des certificats pour les connexions OpenVPN
- Date
2020-11-21 00:00
- Tags
pfSense, computer, proxmox, Let’s Encrypt
- Authors
Gibus